New and improved Sugru super formula
The benefits of original formula + family friendly formula = the best Sugru ever!
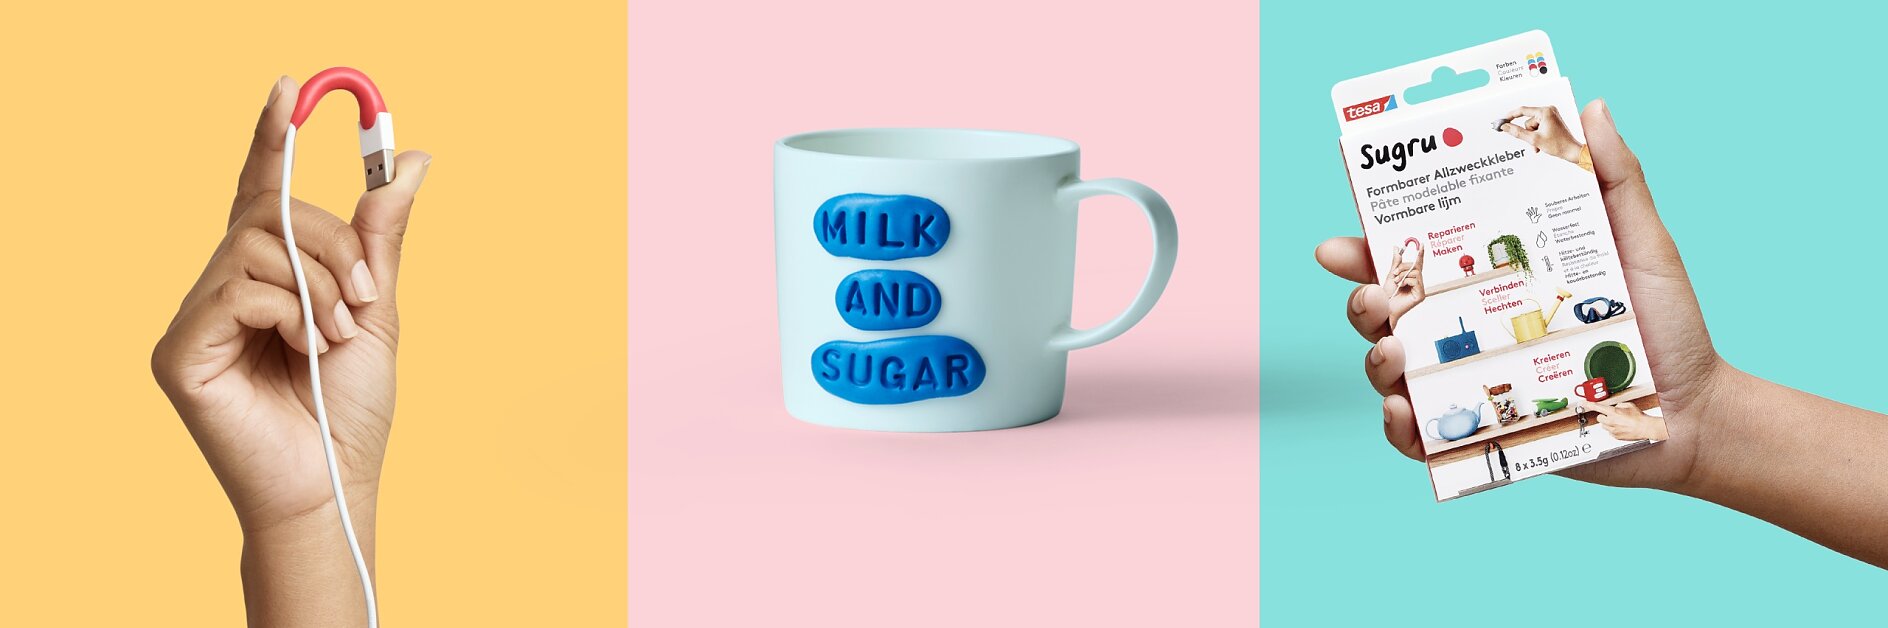
The benefits of original formula + family friendly formula = the best Sugru ever!
*Sugru does not bond to oily plastics like polypropylene, polyethylene or Teflon™. **Depending on the thickness of the application, for load-bearing projects, allow up to 48 hours for Sugru to fully set. Be careful with electricity. Stick to small consumer electronics repairs, low current and below 24 volts.
The world's first mouldable glue! Watch the video and see what you can do with it.


